 waputu
Before you start
- Use an email address you control. You will need the confirmation email.
- Choose a unique password of 12 to 128 characters. No payment card is required during the initial launch.
Where to click
- 1Get started→
- 2Create account→
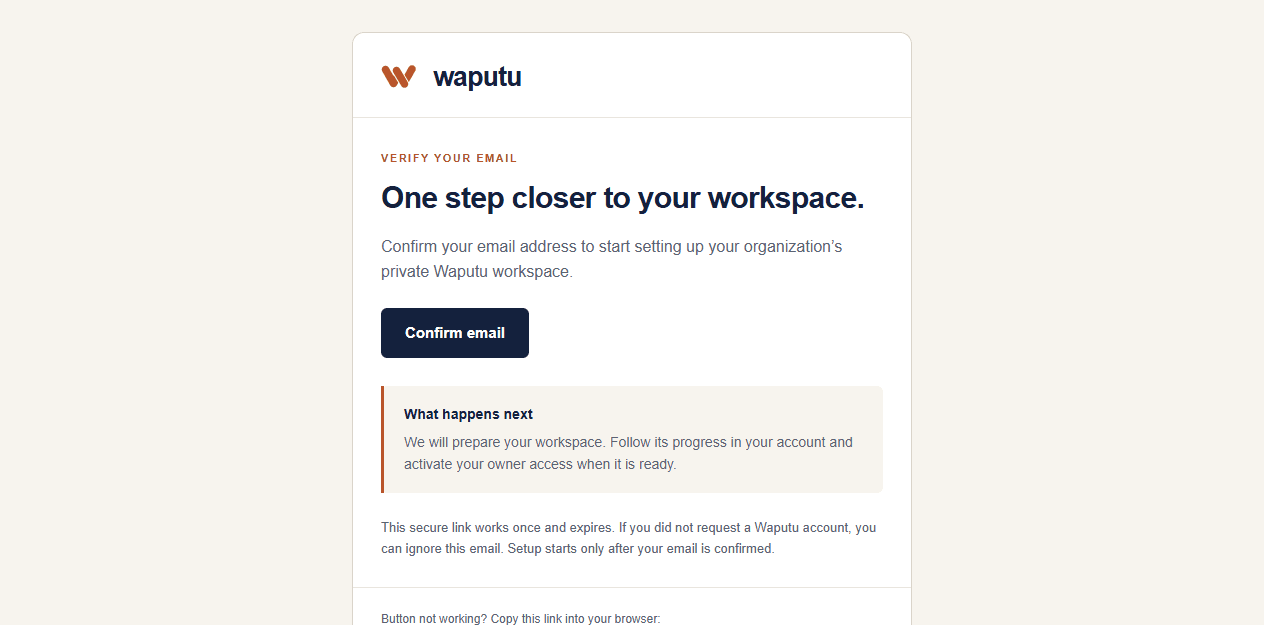
- 3Confirm email→
- 4Workspace status→
- 5Activate workspace
Step-by-step instructions
1Get started
Open the public Waputu site and select Get started. Enter your name, organization and work email. Review the terms before submitting.
2Create account
Submit once. A success message means the confirmation was requested; it does not mean the email has reached your inbox.
3Confirm email
Open the message from Waputu at accounts@waputu.com. Select Confirm email. The link is private, expires and can be used once.
4Workspace status
The status page first shows Email confirmed, then Preparing your workspace. Your private database and app are created in the background. You may leave and sign in later.
5Activate workspace
When ready, follow Activate workspace. Save the new workspace address. Your team signs in there; the public portal is where you manage the initial registration.
You can see your workspace status and open an owner activation link. No NMS2S credentials have been requested by email.
If something goes wrong
No email arrived
Check spam and your typed address. Do not create several organizations to work around a delivery delay. Use Contact support with the time and safe error text.
Setup needs attention
Your request is retained. Contact support with your organization and registered email. Do not register again to force another database.
Still need help?
Send the workspace, facility, safe error and approximate time. Keep credentials and private activation links out of the message.
Contact supportSearch another guide