 waputu
Before you start
- Complete MFA.
- Confirm the recipient address and required facilities before sending.
Where to click
- 1Team→
- 2Invite→
- 3Send invitation→
- 4Invitation email→
- 5Verify access
Step-by-step instructions
1Team
Open Team from the workspace navigation. Review existing users first so you do not create a duplicate invitation unnecessarily.
2Invite
Enter the teammate email. Choose the least powerful role that covers the work. Only grant facilities you are authorized to grant.
3Send invitation
Review the role and facility list, then submit. The app records the invitation and asks the email service to deliver it.
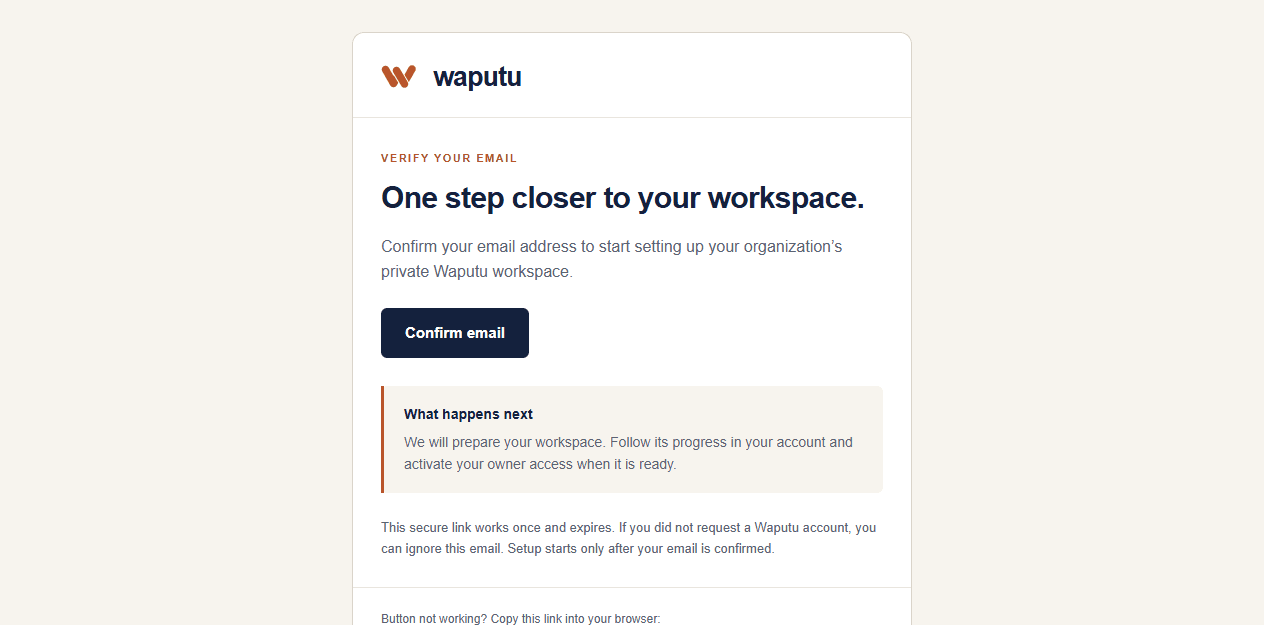
4Invitation email
The recipient accepts the link and sets a password. Owners and admins must also complete MFA.
5Verify access
Have the teammate check their workspace and facility list before using inventory tools.
The invited identity has exactly the saved role and facility grants after activation.
If something goes wrong
Cannot grant that role
Your role cannot issue a more privileged role. Ask the owner.
Cannot grant a facility
You cannot invite someone into a facility you do not hold.
No invitation received
Verify the address and delivery status. Never forward another user activation link.
Still need help?
Send the workspace, facility, safe error and approximate time. Keep credentials and private activation links out of the message.
Contact supportSearch another guide