 waputu
Before you start
- Use the original product records and laboratory results.
- Review the adopted rule for the product and package type. Software does not provide CCD approval.
Where to click
- 1Labels→
- 2Product facts→
- 3Net contents and potency→
- 4Information panel→
- 5Review confirmations→
- 6Save facts and template
Step-by-step instructions
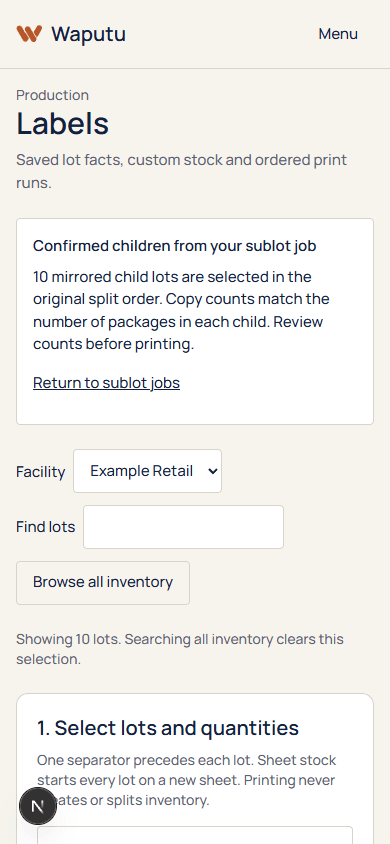
1Labels
Choose the facility and select the exact lots. Check the product identity and copy count for each.
2Product facts
Enter the manufacturer relationship, name, license, intended use, directions, dates, ingredients, allergens, relevant chemistry and other fields shown.
3Net contents and potency
Enter matching metric and US units. Use laboratory-supported potency and serving values. The system rejects incompatible units and materially inconsistent conversions.
4Information panel
Choose printed information or an attested static QR information panel. The latter requires a direct page containing all applicable information, not just a COA.
5Review confirmations
Review physical packaging and product facts before checking the required attestations. Do not use placeholders for missing required information.
6Save facts and template
Save each lot profile. Later changes do not rewrite an already issued immutable print job.
Each selected lot has reviewed saved facts, stock settings and QR configuration.
If something goes wrong
Expiry is rejected
A new label cannot extend the known inventory expiration or an earlier issued label expiration.
Unsupported package type
Seeds, young plants, special small-pack exceptions and specialty layouts need separately validated templates. Changing dimensions alone does not enable an exception.
Still need help?
Send the workspace, facility, safe error and approximate time. Keep credentials and private activation links out of the message.
Contact supportSearch another guide