 waputu
Before you start
- Review every selected lot, quantity, product fact and QR destination.
- Your printer must support the stock and required color, including the red state symbol in these templates.
Where to click
- 1Labels→
- 2Save facts and template→
- 3Validate and save print job→
- 4Download / reprint PDF→
- 5Print > Actual size→
- 6Verify and apply
Step-by-step instructions
1Labels
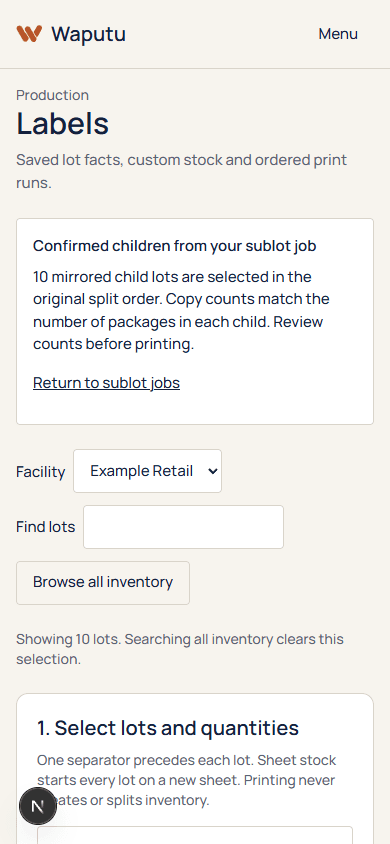
Choose the facility and select lots in the desired order. Review each copy count.
2Save facts and template
Save the current reviewed settings for every lot. Do not assume editing one lot updates the others.
3Validate and save print job
The engine validates content and physical fit, then records an immutable job snapshot.
4Download / reprint PDF
Open the saved job PDF. Ten lots with fifty copies produce 500 product labels and ten internal separators.
5Print > Actual size
Select the compatible printer and correct media. Use 100% scale. Roll mode prints one position per page; sheet mode begins each lot after its separator on a fresh sheet.
6Verify and apply
Check the first and last labels of each lot, physical dimensions, text, red symbol and scanned QR. Keep separators with the work group and off sale packaging.
The physical run preserves every lot group. A downloaded PDF or recorded print event alone is not proof the printer completed.
If something goes wrong
Blank sheet positions appear
Blank cells at the lot boundary are deliberate so lots do not mix.
The printer is monochrome
It cannot reproduce the required red symbol in these templates. Use a suitable color-capable workflow and physical packaging review.
The file is large
Download once and print the saved job. Do not regenerate sublots to obtain another copy.
Still need help?
Send the workspace, facility, safe error and approximate time. Keep credentials and private activation links out of the message.
Contact supportSearch another guide